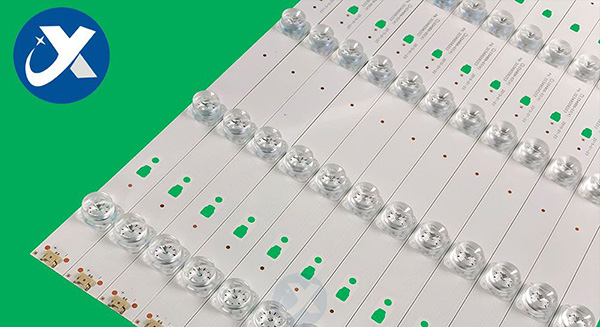
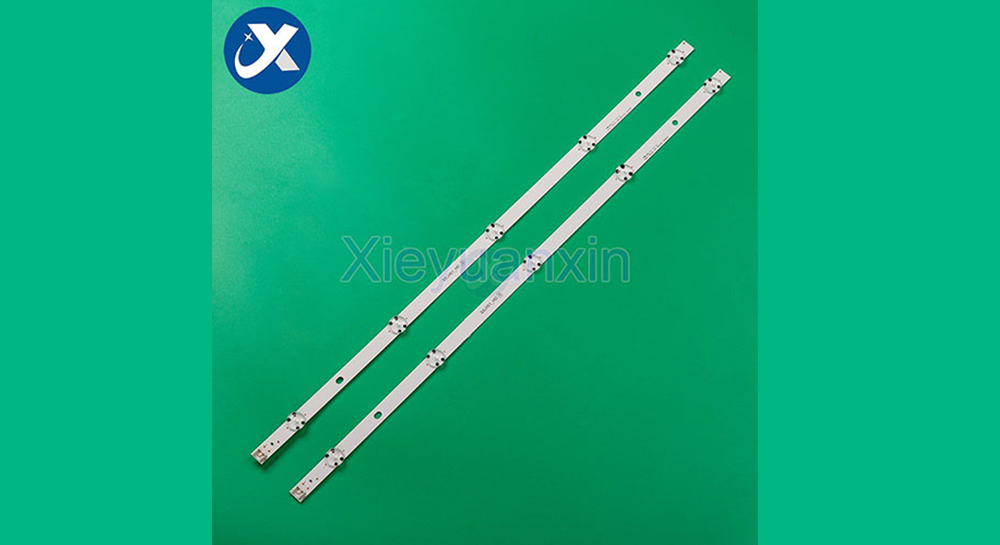
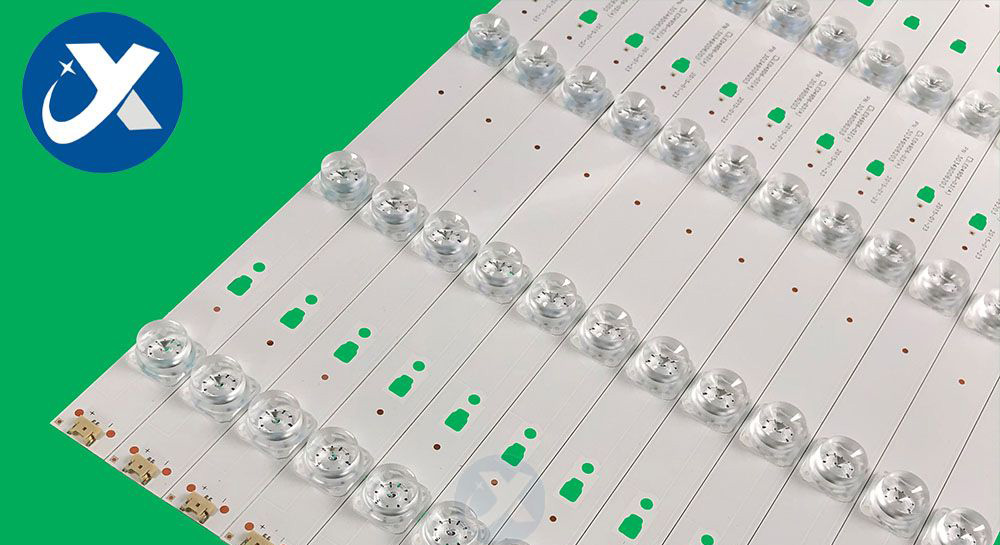
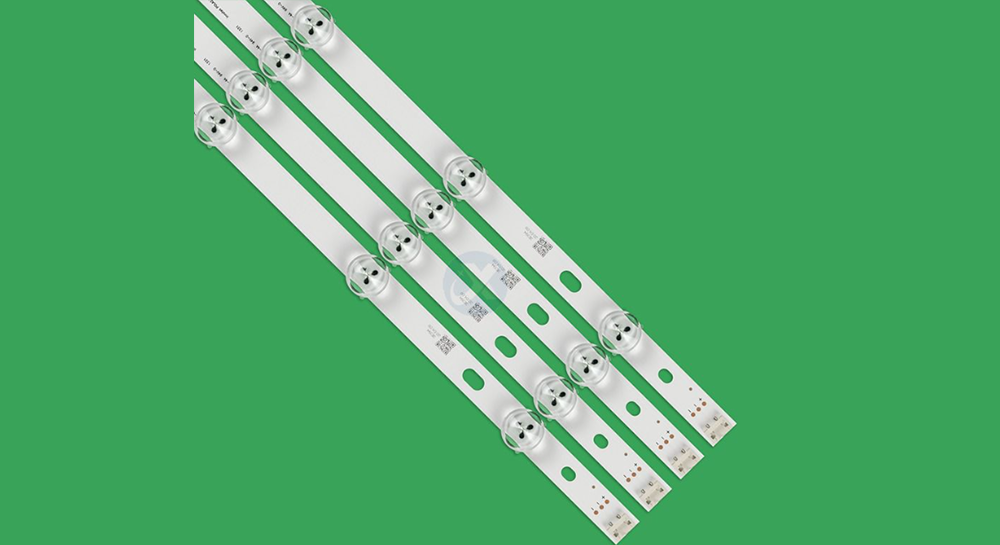
Installing a Haier TV backlight strip can help enhance your TV viewing experience by adding a unique ambiance to your home theater setup.

Tools Needed for Installation
Haier TV Backlight Strip
Scissors
Adhesive Tape
Cleaning Cloth
Steps
Step 1: Measure the Back of Your TV
The first step in installing a Haier TV backlight strip is to measure the back of your TV to determine the length of the strip you need. Use a measuring tape to measure the length of your TV, and then add a few extra inches to the measurement to ensure that the strip will cover the entire back of the TV.
Step 2: Clean the Back of Your TV
Before you install the Haier TV backlight strip, you need to make sure that the back of your TV is clean and free of dust and debris. Use a cleaning cloth to wipe down the back of the TV, making sure to remove any dirt or fingerprints.
Step 3: Cut the Backlight Strip
Using a pair of scissors, cut the Haier TV backlight strip to the length that you measured in step 1. Make sure that you cut the strip straight and avoid cutting any of the LED bulbs.
Step 4: Attach the Strip to the TV
Remove the adhesive tape from the back of the Haier TV backlight strip, and then carefully attach the strip to the back of your TV. Start at one corner of the TV and slowly press the strip onto the back, making sure that it is straight and centered. Be careful not to press too hard, as this could damage the LED bulbs.
Step 5: Secure the Strip
Once the Haier TV backlight strip is attached to the back of your TV, you need to make sure that it is secure. Use additional adhesive tape to secure the ends of the strip to the back of the TV, making sure that it is taut and flat against the back of the TV.
Step 6: Connect the Strip to a Power Source
Finally, you need to connect the Haier TV backlight strip to a power source. The strip should come with a USB cable that you can plug into your TV's USB port. If your TV doesn't have a USB port, you can use an AC adapter to plug the strip into an electrical outlet.
Step 7: Turn On Your TV
Once the Haier TV backlight strip is connected to a power source, turn on your TV to see the results. You should see a soft glow emanating from the back of the TV, which will add a unique ambiance to your home theater setup.
Tips
Make sure that your TV is turned off and unplugged before you start the installation process.
Measure the length of your TV carefully to ensure that you get the right length of the LED backlight strip.
Be careful when cutting the backlight strip to avoid damaging the LED bulbs.
Make sure that the back of your TV is clean and free of dust before you attach the backlight strip.
Use additional adhesive tape to secure the ends of the strip to the back of the TV.
If you have any trouble with the installation process, refer to the instructions that came with the Haier TV backlight strip.
In conclusion, installing a Haier TV backlight strip can help enhance your TV viewing experience by adding a unique ambiance to your home theater setup. The installation process is relatively simple and can be done with just a few tools. By following the steps outlined in this guide, you should be able to install a Haier TV backlight strip in no time.


