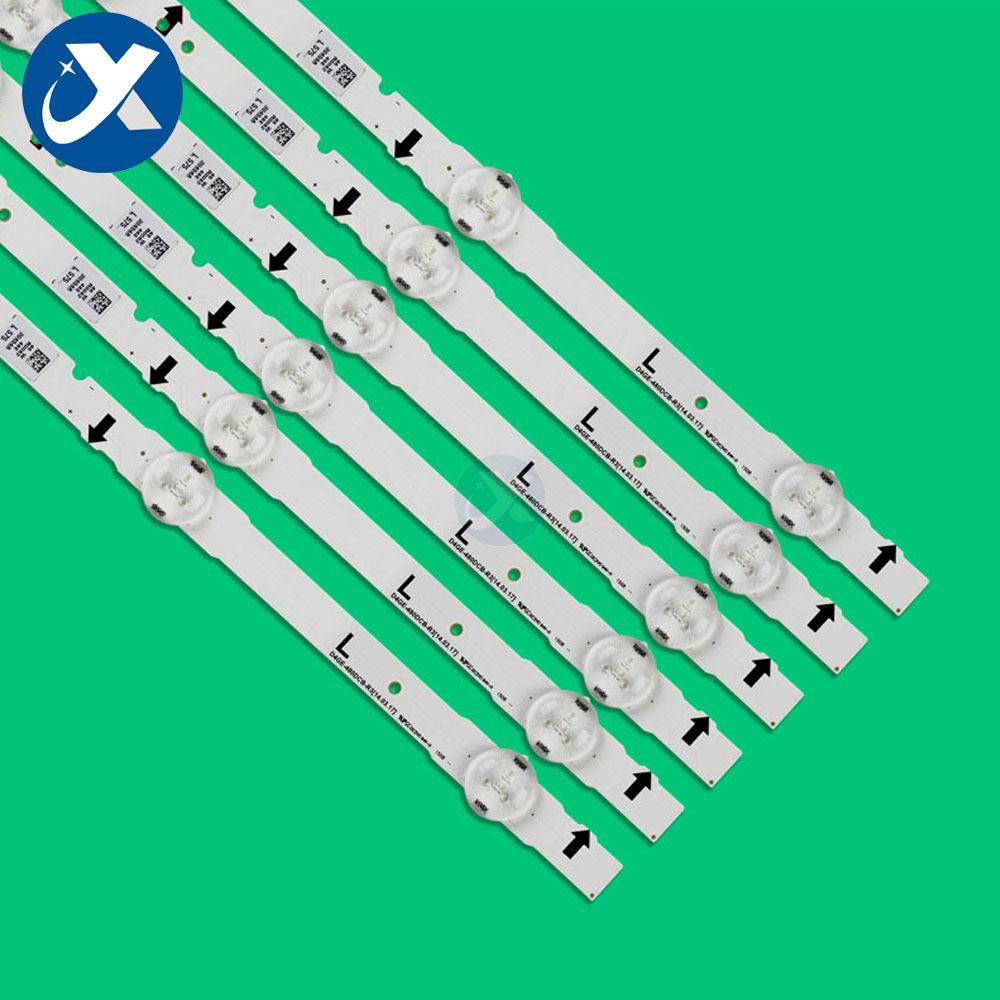
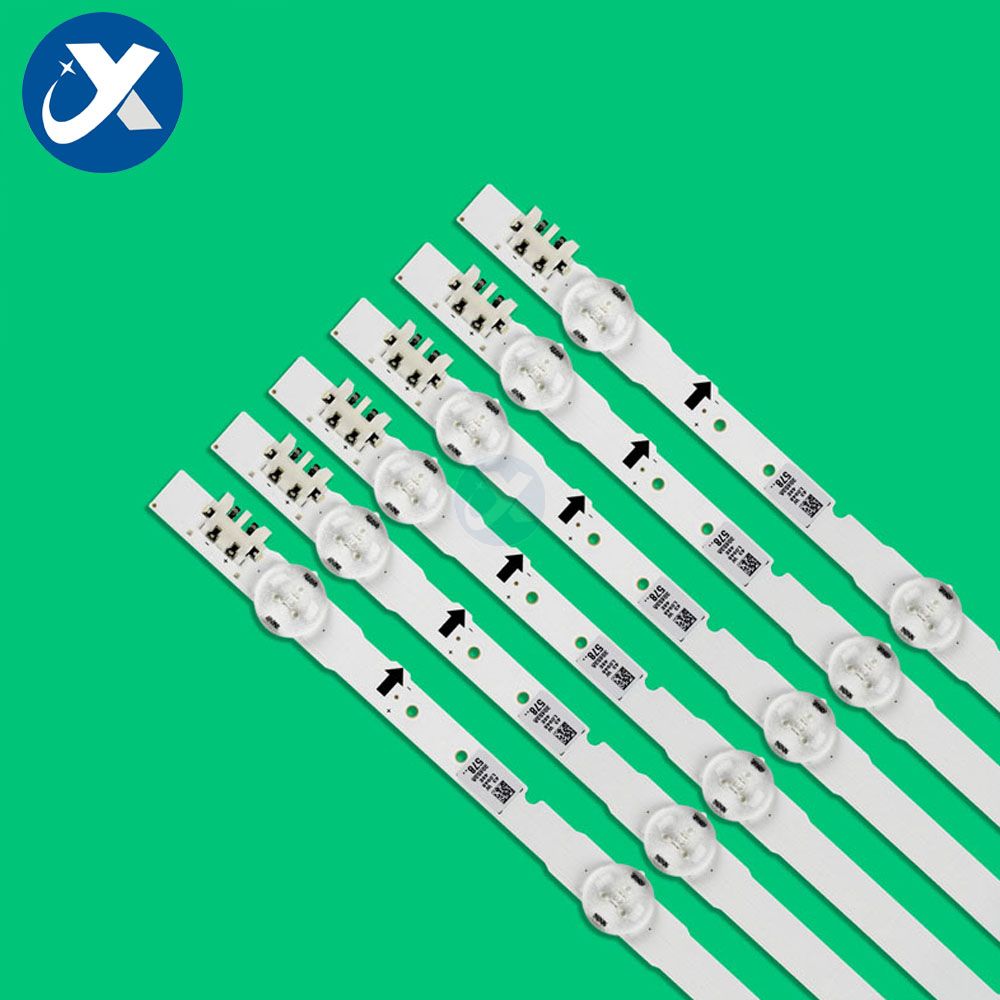
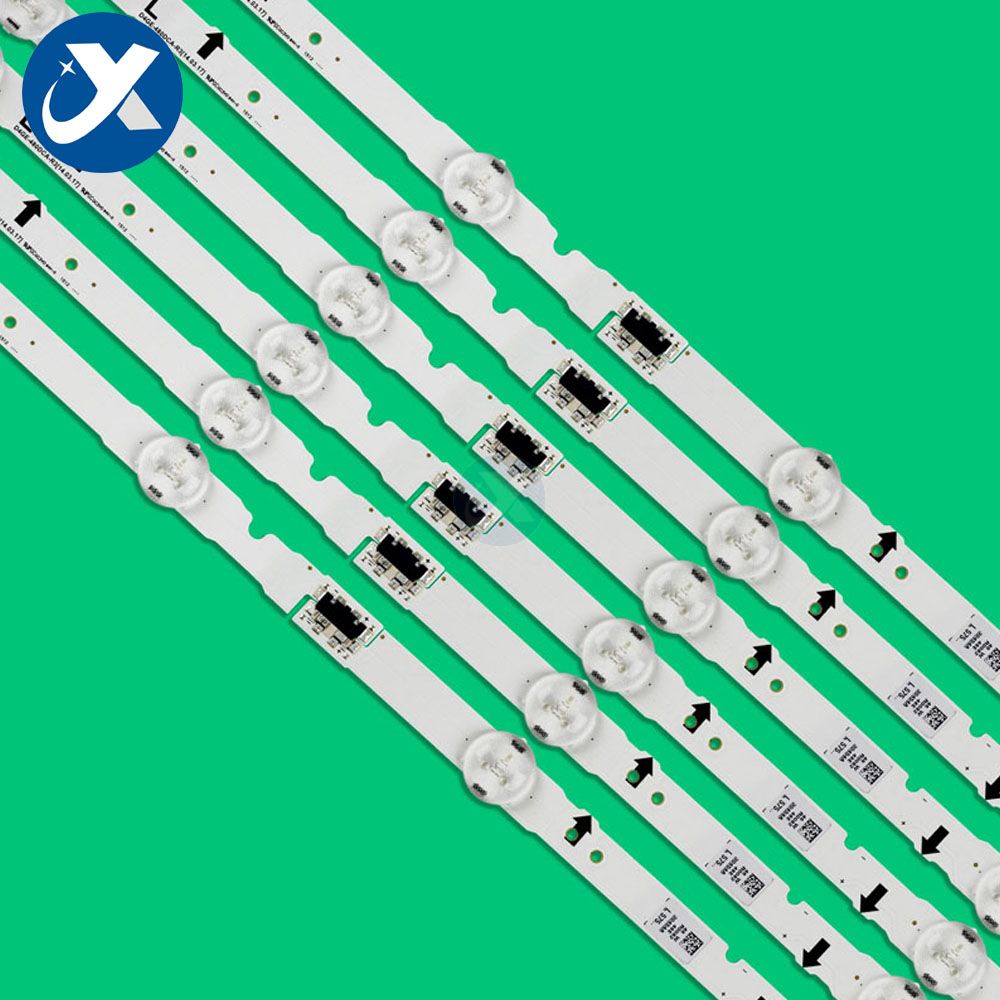
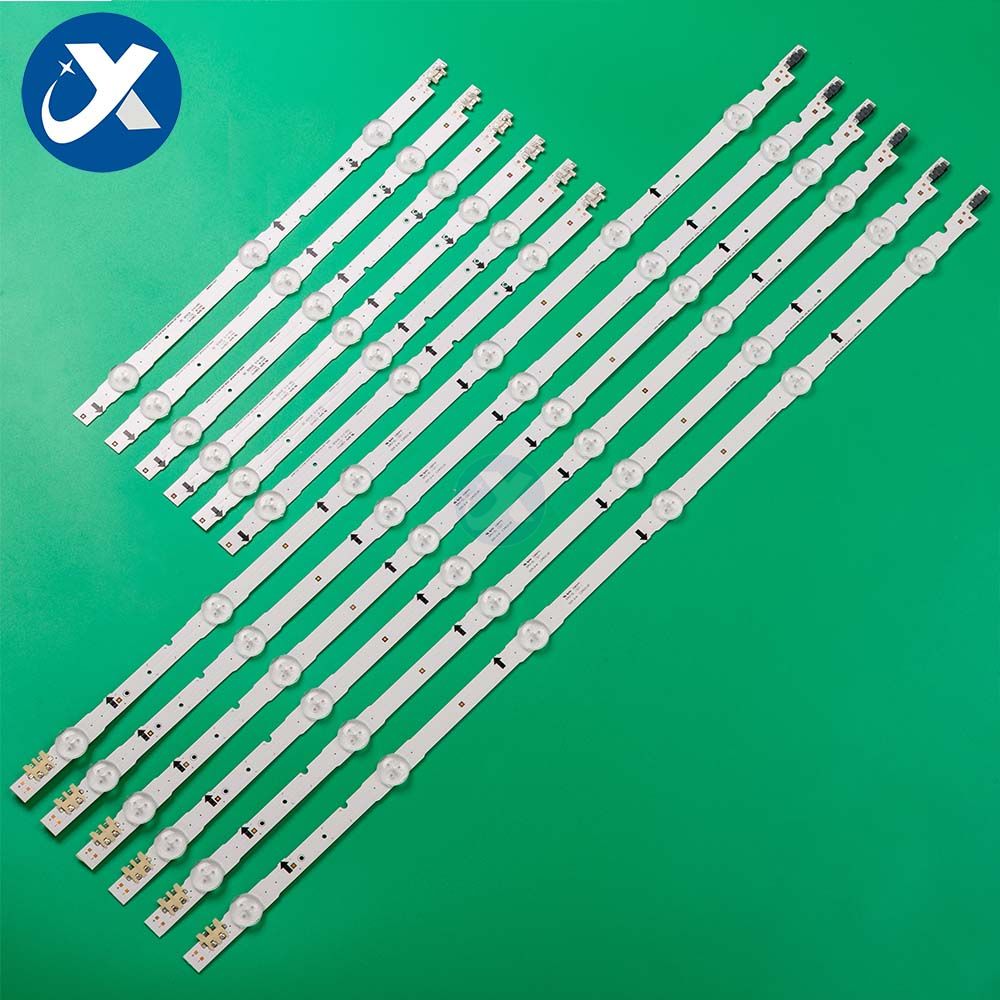
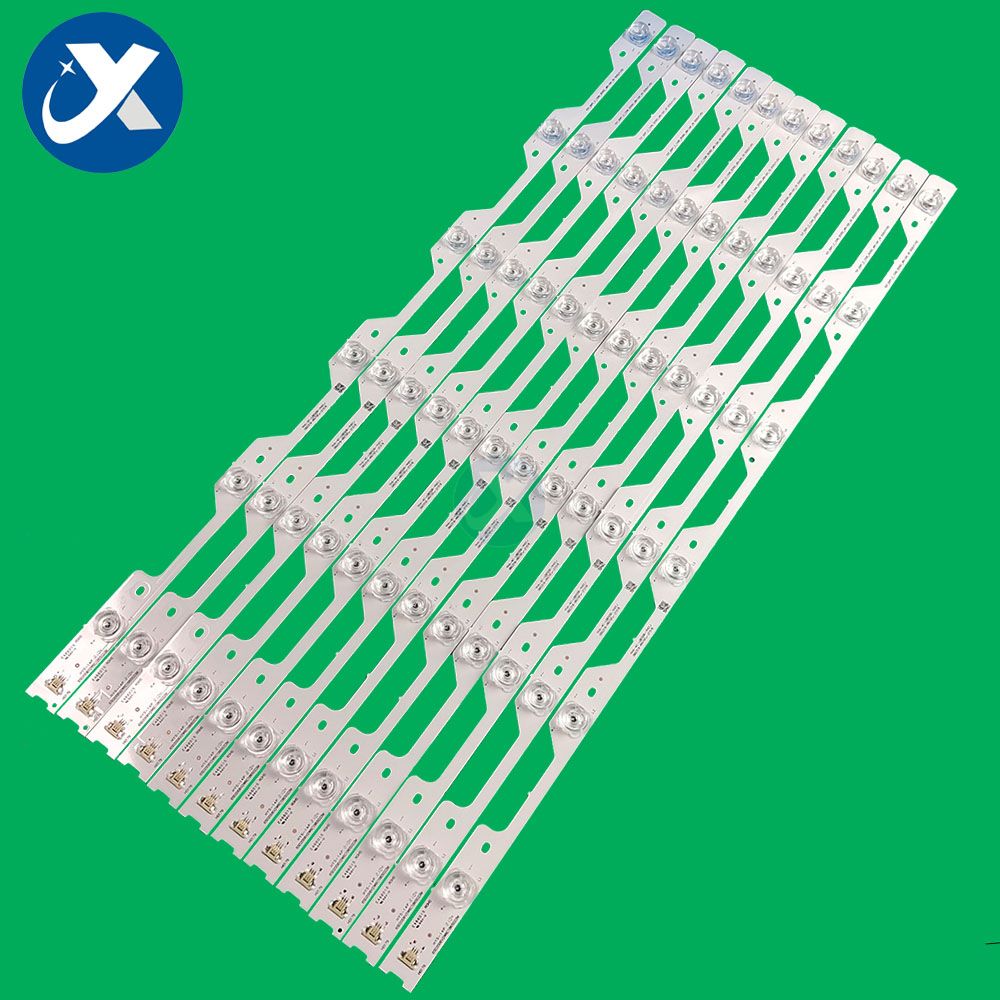
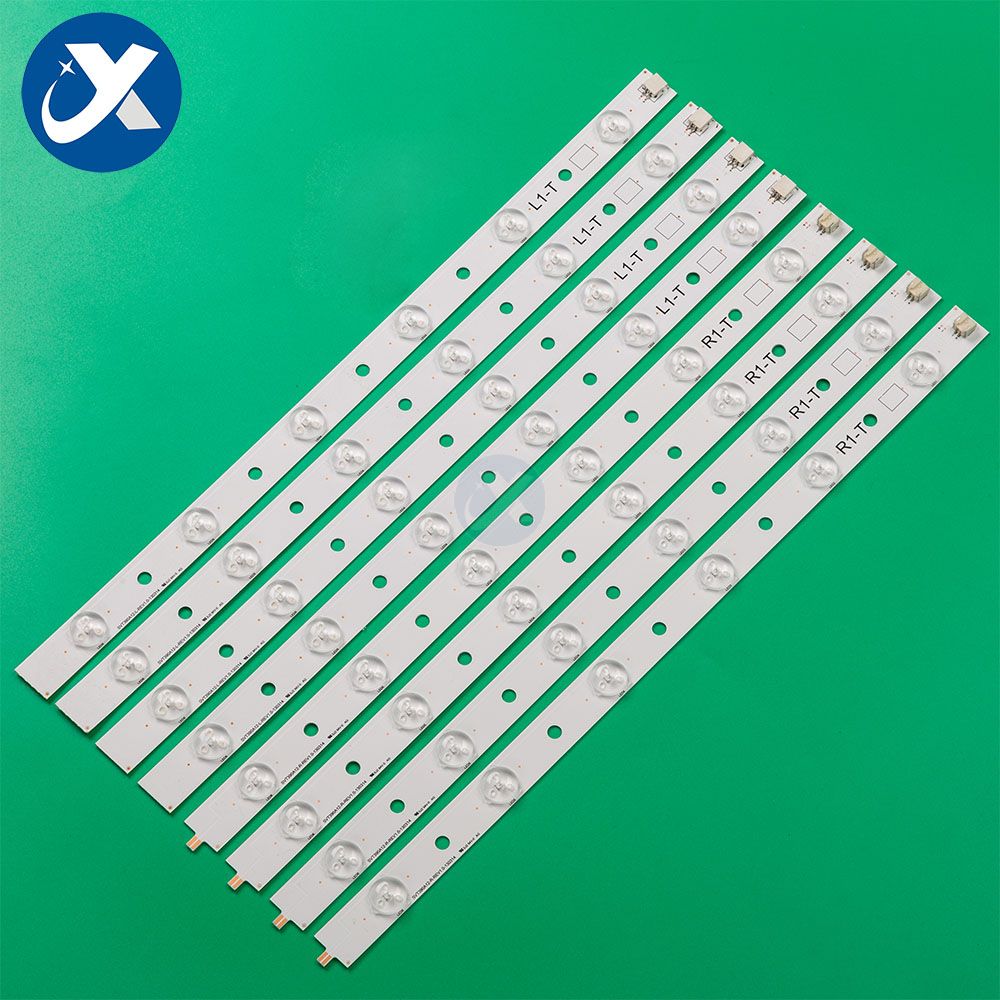
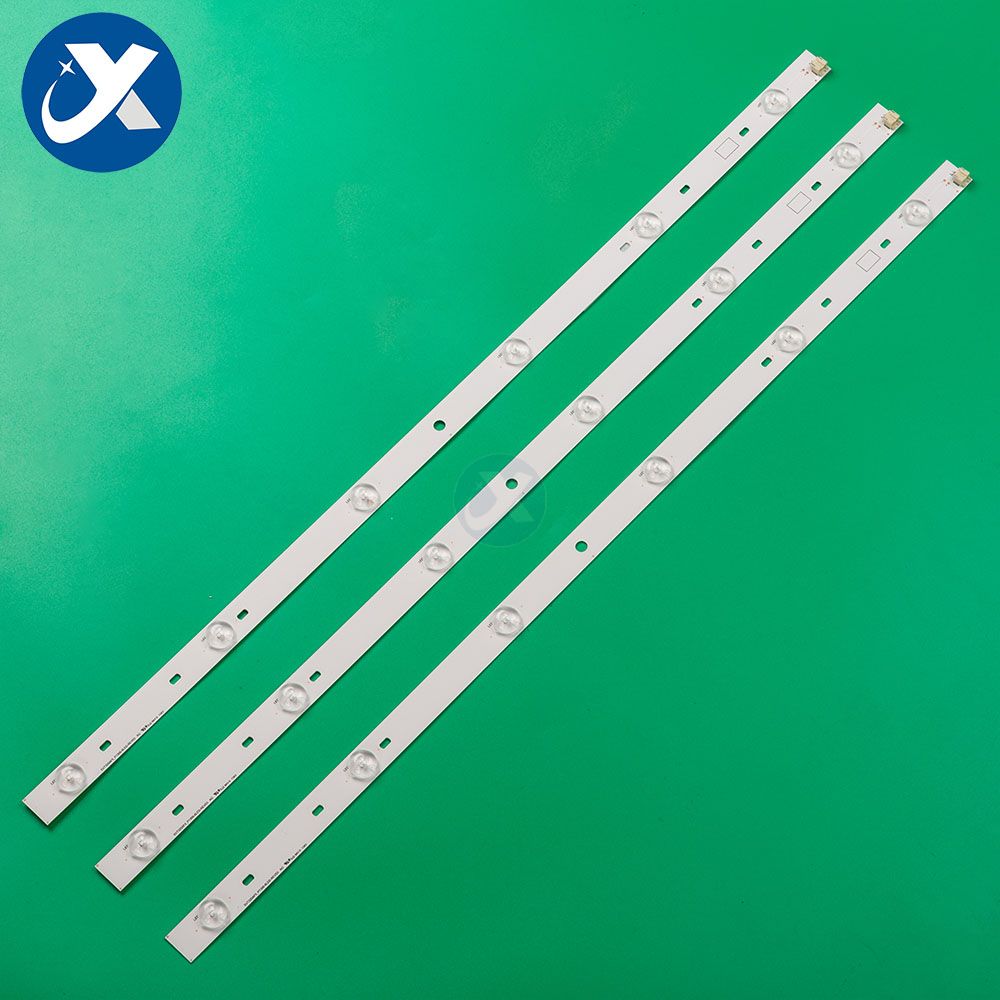
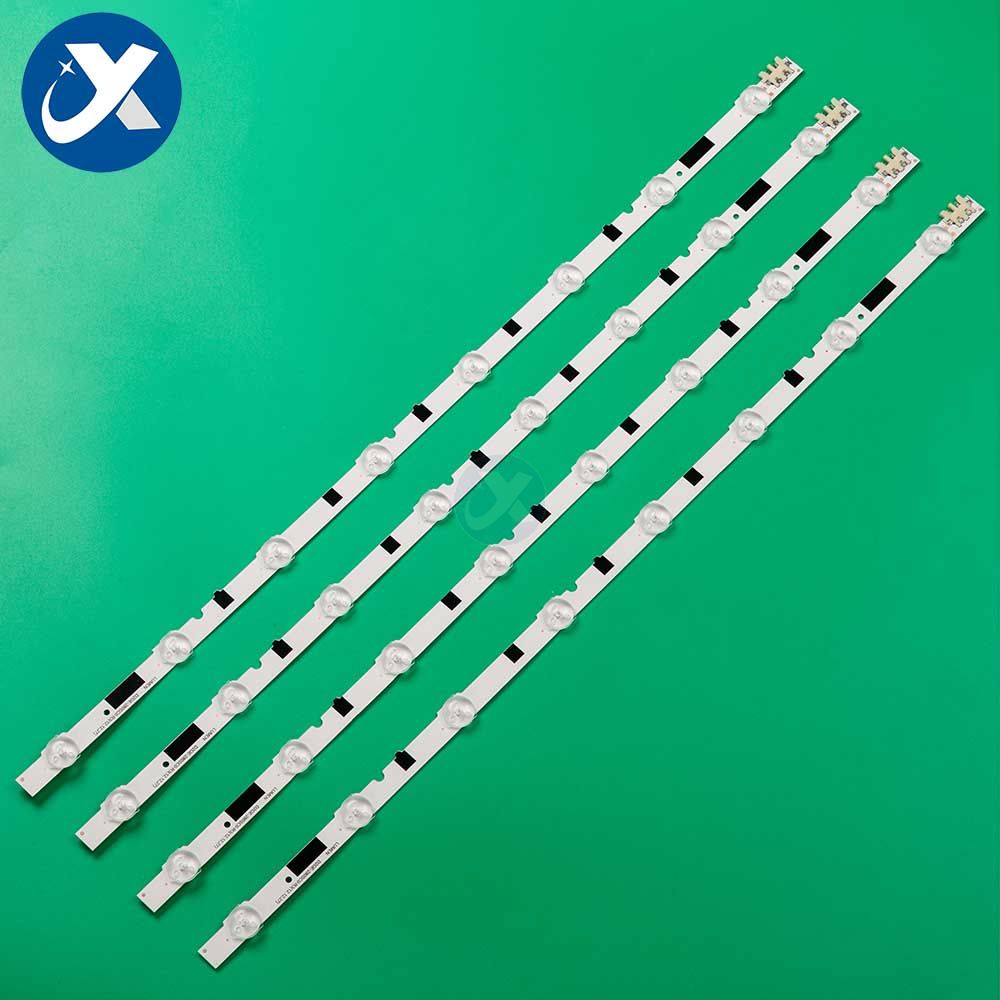
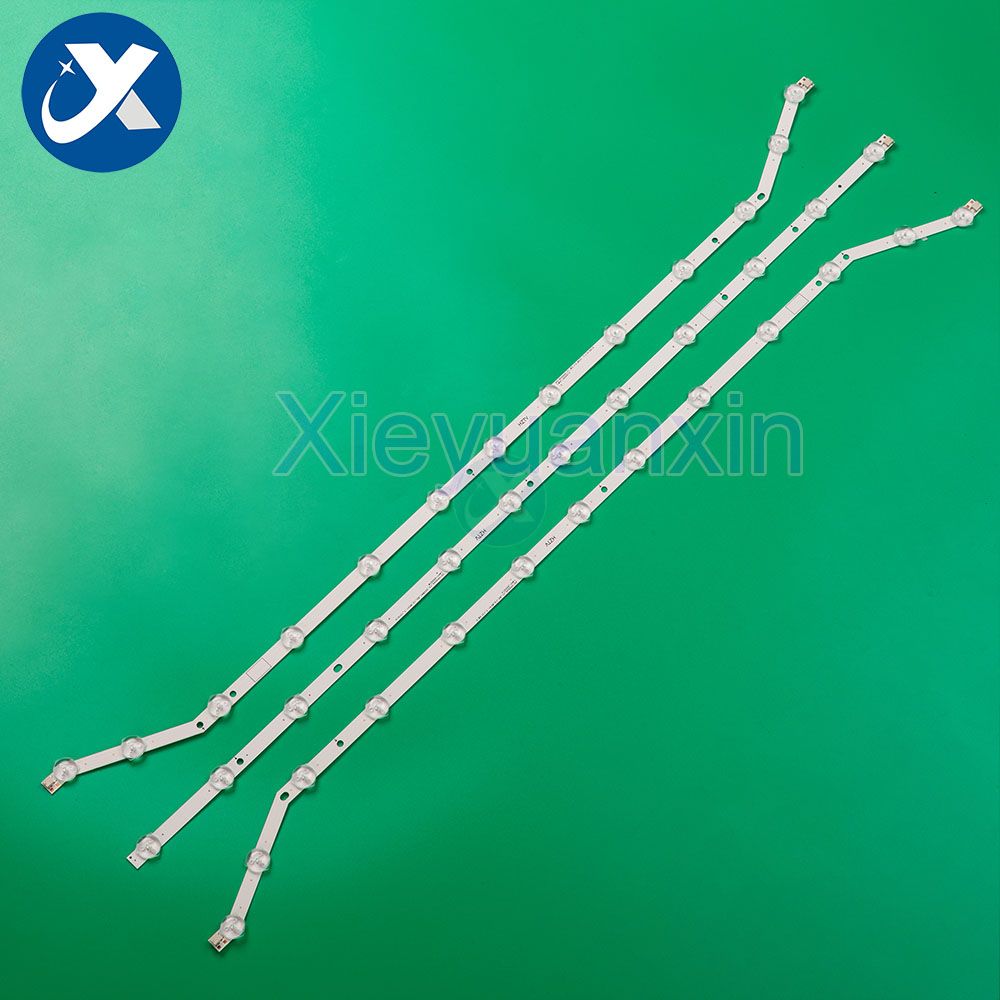
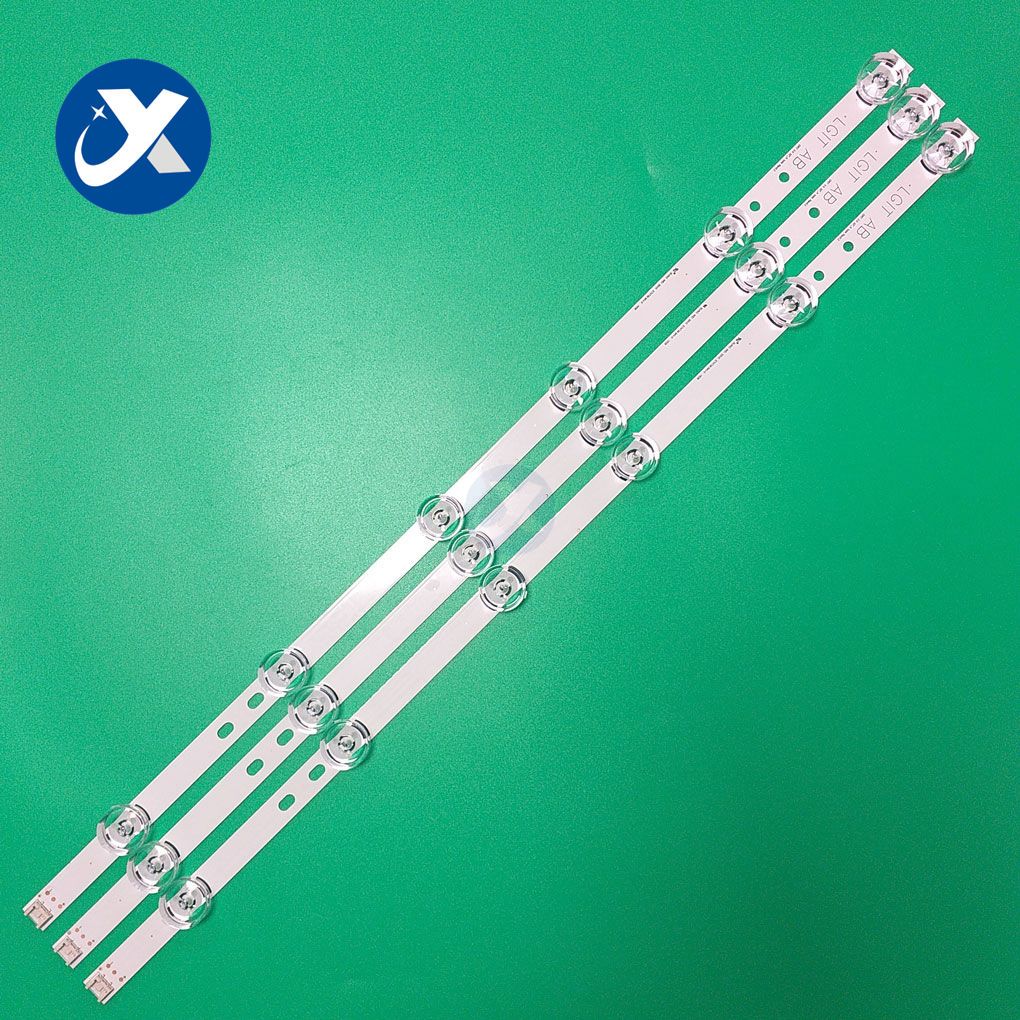
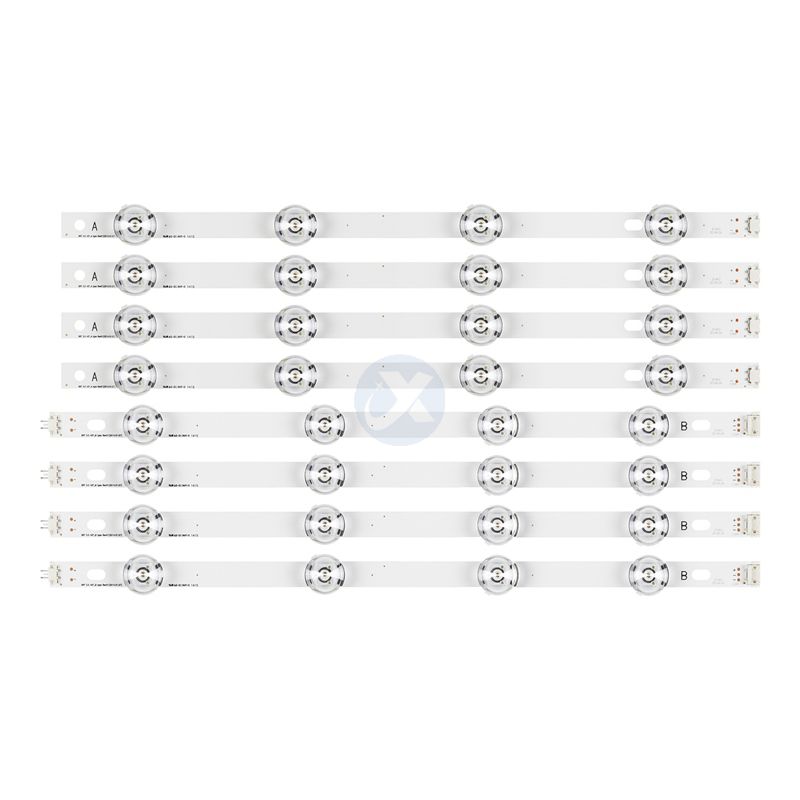
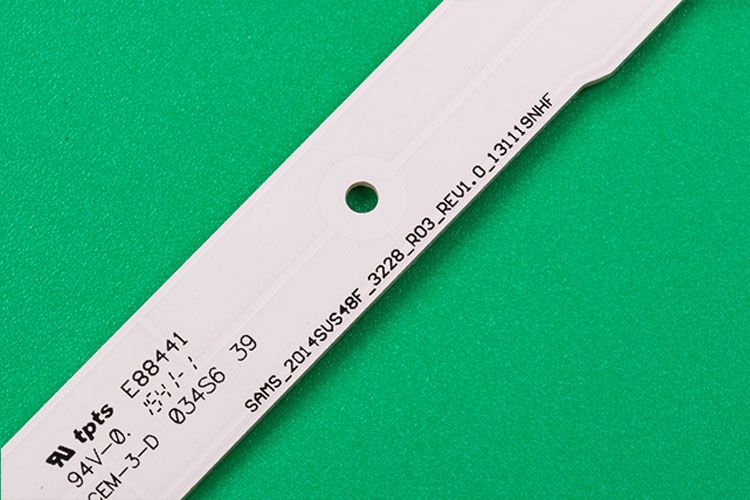
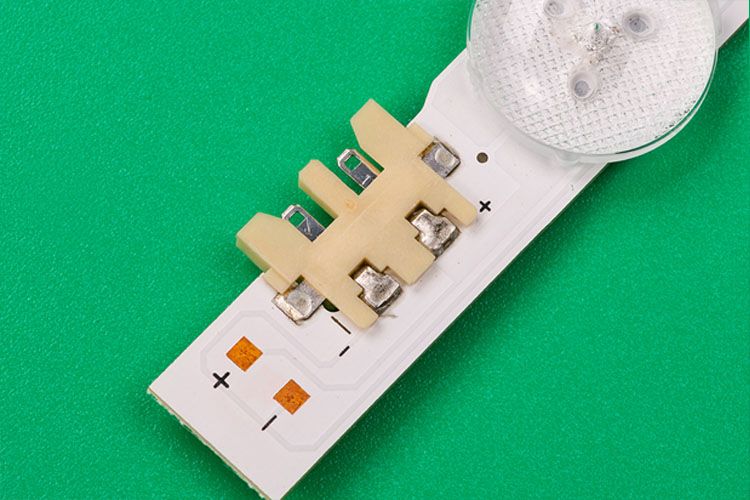
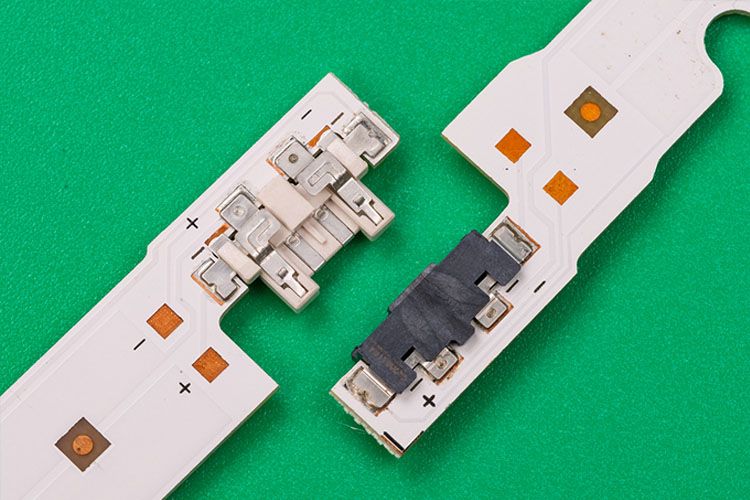
1. 1:1 as original connectors
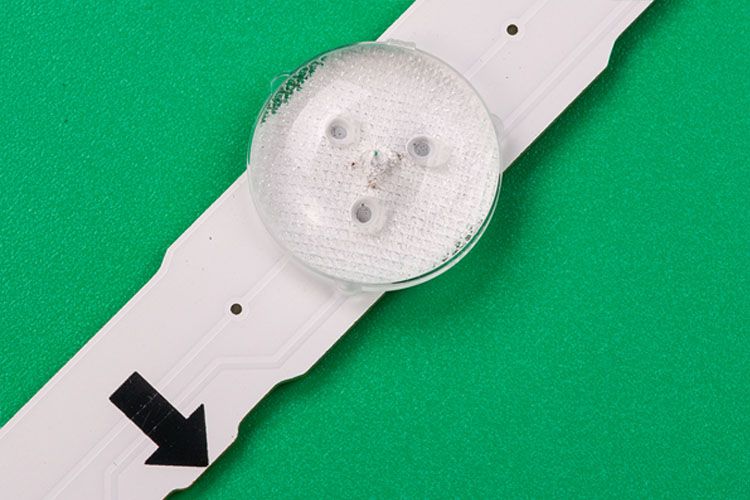
2. Original Korea lens
3. 1 OZ Aluminum PCB with V wear exposure technology
4. The lamp is 3V, power 1W, use 3030 EMC bracket
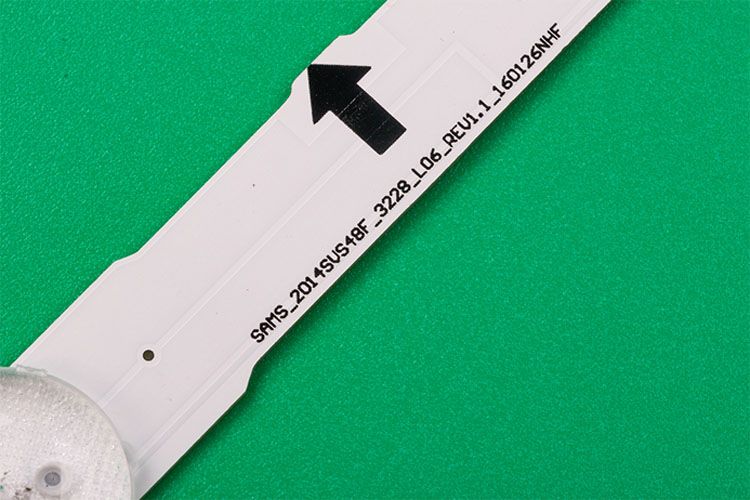
5. Original code:
D4GE-480DCA-R3[14.03.17]
D4GE-480DCB-R3[14.03.17]
6. Quality warranty is 1 year, we refund fully there's any problem with the led strip lights.
FAQ
Can you fix Samsung TV's backlight?
You can get your Samsung TV working again with a simple backlight fix - avoiding the hassle or stress of determining if you need to buy a brand new TV.
How do I know my backlight is broken?
To see if your TV's backlight is causing the problem, make sure your TV is turned on and the lights in the room are turned off. Look at the screen with a flashlight to see if there are any pictures. If you can see the picture with a flashlight, then your TV backlight is burned out.
Notes on Samsung TV Backlight:
1. Connector, length and LED quantity are in our description, please make sure our Samsung TV Backlight is suitable for your TV before buying. If not, please contact us first, thank you!
2. As the product will be upgraded, the picture will be slightly different from the item you received. We promise the shape and function will be the same as our description.
Samsung TV Backlight Replacement
Step 1 Remove the cover
Remove the rear foot cover.
Step 2 Work Safely
Place the TV on a mattress or other soft surface to avoid stressing the TV.
Placing a folded blanket in the middle of the TV will distribute the weight of the TV more evenly. This helps with the next steps.
Step 3 Remove the feet
Loosen and remove the four screws in the holes.
Slide the base out of the TV.
Step 4 Preparation before removing the back cover
The red clip is about 40mm from the edge. The yellow clips are 25mm from the sides. The blue clip is at the bottom. The green clips are deep in the device and must be used with force.
The yellow clips are near key electronics.
Check and remove the universal interface card holder if necessary. Otherwise, the motherboard may be damaged.
The red clip is about 40mm from the edge. The yellow clips are 25mm from the sides. The blue clip is at the bottom. The green clips are deep in the device and must be used with force.
Use a piece of tape to mark the medium flat-blade screwdriver 35mm from the head.
Insert the screwdriver flat into the side of the TV. When you turn the screwdriver, the cover's clips come loose.
Repeat this step outside the TV to release all clips.
Step 5 Remove the back
Put something between the back and the frame to prevent the panel from getting stuck again.
Insert the screwdriver flat into the side of the TV. When you turn the screwdriver, the cover's clips come loose. Do it all outside the TV.
The top of this TV is fully or partially secured with double-sided tape. Use a screwdriver to make room to cut the tape.
Put something between the back and the frame to prevent the panel from getting stuck again.
Finally, release the yellow clip. Work here from the top, do not insert the screwdriver more than 25mm. Do not insert the screwdriver under the clips marked with yellow.
Step 6 Remove the back cover
Insert a screwdriver and flip the back panel up to release the four blue clips on the bottom.
Except for the two green clips, the back panel should now be loose. When you're sure all the clips along the edges are loose, you can use light force to loosen the back.
Step 7 Remove the speakers
Carefully pull out the speaker, which is secured with the blue rubber plug.
Disconnect the two flat cables from the LCD panel.
Disconnect the speaker cable.
Carefully pull out the speaker, which is secured with the blue rubber plug.
Step 8 Remove the IR Module
Disconnect the infrared module cable.
Release the clip on the IR module and remove the IR module.
Step 9 Remove the LCD panel
Unscrew the four clips.
Release the four clips on the bottom of the protective metal plate.
Tilt and pull apart the metal panel to remove it.
Step 10 Preparing to run the TV
Note that the plastic edges hold the LCD in place. Check for looseness when removing the back cover.
Now turn the TV over so it is facing up.
Step 11 Remove the border
Place the TV on the edge of the table so that you can reach the bottom edge of the TV.
The edges are secured with plastic clips. Carefully loosen it. Be extra careful with the LCD's gold-colored cable.
The edges can be removed when the surrounding clips are loose.
Step 12 Remove the LCD
LCD panels are very sensitive. Pay close attention to the circuitry that evaporates onto the LCD.
There are multiple ways to remove the LCD, the following are successful.
Stick the LCD panel firmly to the back with paint tape. Instead of sticking the tape over the gold connectors, stick it between the connectors.
Get a mattress and fold the blanket to follow the curve of the TV.
Now that the LCD is properly seated, the TV can be flipped over onto the mattress with the blanket.
Now remove the tape and keep the LCD circuit away from the frame.
Lift the frame off the TV with the bolts you installed earlier.
To prevent the LCD from getting stuck in the case, it is best to tilt the frame.
Step 13 Remove the Backlight Panel
When all sides are removed, the backlit boards can be taped together.
Loosen the plastic sides of the backlight. These have to be pulled up.
Mark the sides to make installation easier.
Take the plate out of the TV.
Step 14 Remove Backlight
Release the connector by squeezing the sides.
Loosen the screws of the backlight.
Backlight can now be removed.


